The Night I Realized My House Had No “Safe Spot”
I still remember the night a storm warning went off on my phone at 2 a.m. I sat up in bed, heart pounding, and realized something embarrassing. I had no idea where the safest place in my own house actually was.
I grabbed my kids, a flashlight, and we ended up crouched in a hallway closet full of coats and vacuum cords. It worked, but only by luck. My hands were shaking the whole time, not just from the wind outside.
That night changed how I looked at my house. I stopped thinking of “safe room” as something only rich people with underground bunkers could afford. I started asking a simpler question: what can I actually build with the money I have right now?
Turns out, the answer surprised me.
If you have ever felt that same panic — that “where do we even go” feeling — you are not alone. A lot of families feel unprepared, not because they do not care, but because most safe room guides online assume you have a spare $15,000 and a construction crew on speed dial.
Here is the good news. You do not need a bunker. You need one reinforced, well-thought-out space in your existing home, and a plan that actually fits your budget.
Most people put off building any kind of protected space for one simple reason: they think it has to be perfect, expensive, or professionally installed to count. That belief keeps families unprotected for years.
Here is what usually happens instead:
- A family keeps meaning to “get around to it” after a scare, then life gets busy again
- Parents feel guilty every time a tornado siren or a news story about break-ins reminds them they still have no plan
- People assume a safe room means ripping out walls, so they never even research the low-cost options
- The stress builds quietly, especially for parents, until it turns into background anxiety every time the weather turns bad
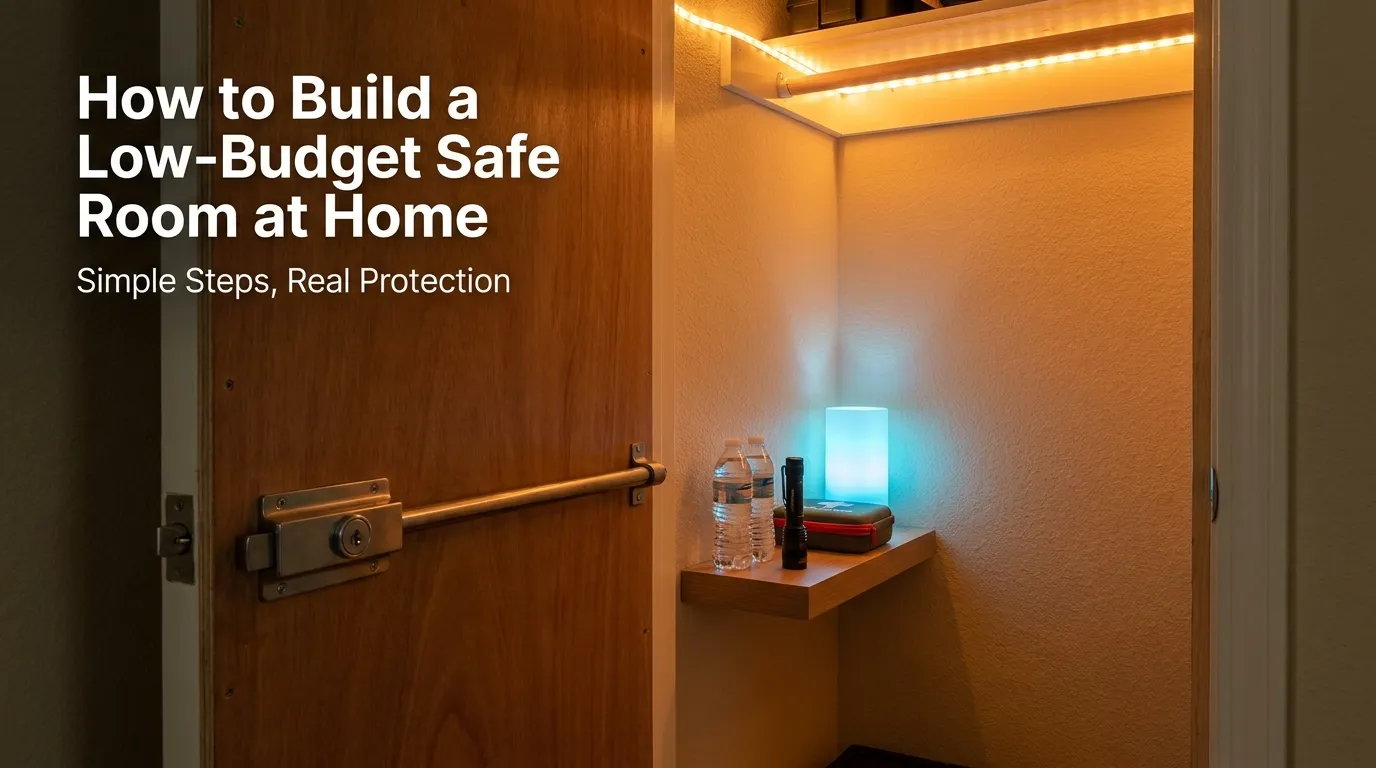
That quiet worry is real. You should not have to carry it. A safe room does not need to be fancy. It needs to be functional, reachable in seconds, and built with what you already have — a closet, a small storage room, or a corner of your basement.
Picking the Right Spot Before You Spend a Single Dollar
Before you buy anything, walk through your house and think like an inspector. The best low-budget safe room location is almost always one you already own — you are just reinforcing it, not building from scratch.
Look for these features:
- An interior room with no exterior walls (a closet, pantry, or small storage room works great)
- A spot on the lowest floor of your home, ideally without windows
- A location close to where your family actually sleeps, since seconds matter
- Enough floor space for everyone in your household to sit comfortably
A basement storage closet, an under-stairs space, or even a large bedroom closet can all work. According to guidance from FEMA’s safe room program, the interior rooms on the lowest floor with the fewest exterior walls consistently offer the best protection, and that logic holds true whether you are spending $500 or $50,000.
My honest tip here: I originally picked our downstairs bathroom because it had no windows, and I was wrong. It was too small once I added a first-aid kit, water, and flashlights. I had to switch to a hallway closet instead. Measure the space with your actual supplies in mind, not just yourself standing in it.
Reinforcing Without a Full Renovation
You do not need steel walls to make a real difference. A few practical upgrades go a long way:
1. Strengthen the door first. The door is almost always the weakest point of any room. Adding a solid-core door, a longer strike plate, and heavier hinge screws is one of the cheapest upgrades you can make. If you want a deeper breakdown of door strength, our guide on reinforcing your front door walks through the same principles that apply here.
2. Add a quality lock. A simple deadbolt is a good start, but a lot of families are switching to keypad or smart locks for a safe room door because there is no key to fumble with in the dark. We compared both options in detail in smart locks vs. deadbolts, which is worth a read before you buy anything.
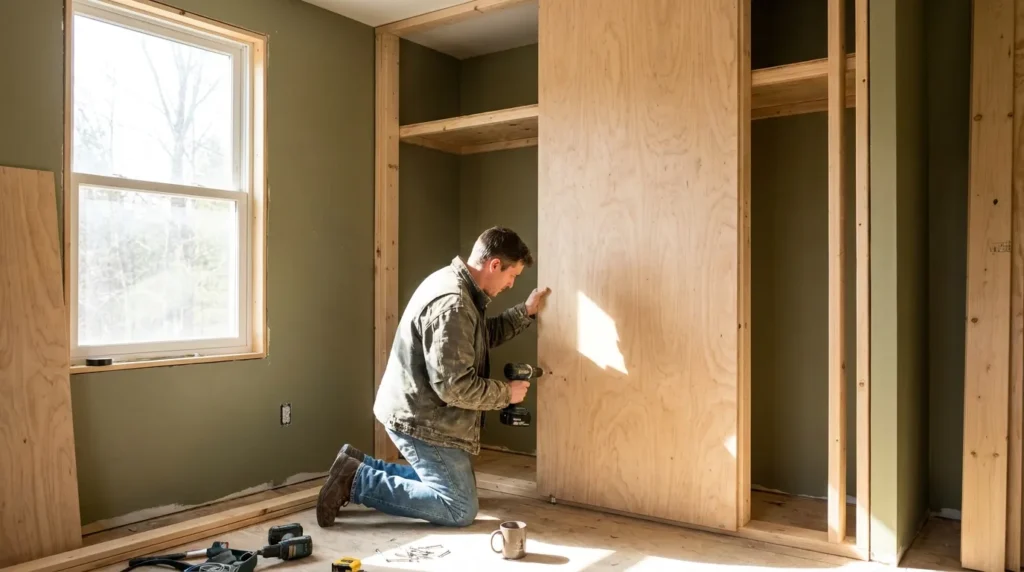
3. Reinforce the walls, if the room allows it. Screwing 3/4-inch plywood sheets directly into the wall studs (not just the drywall) adds real resistance without needing a contractor. This is one of the most common budget-friendly methods used in DIY safe room builds, and it can often be done in a single weekend.
Watch how one builder did this on an actual budget:
This short video shows exactly how a real homeowner reinforced a room with plywood and studs for a fraction of the cost of a prefab safe room.
4. Do not forget the windows, if your room has any. A true safe room should not have windows, but if you are working with what you have, our guide on securing windows from the inside covers low-cost reinforcement film and lock upgrades.
Stocking It Without Overspending
A safe room is only useful if it has what your family needs to wait safely inside for a while. You do not need to buy everything at once. Build the kit over a few weeks:
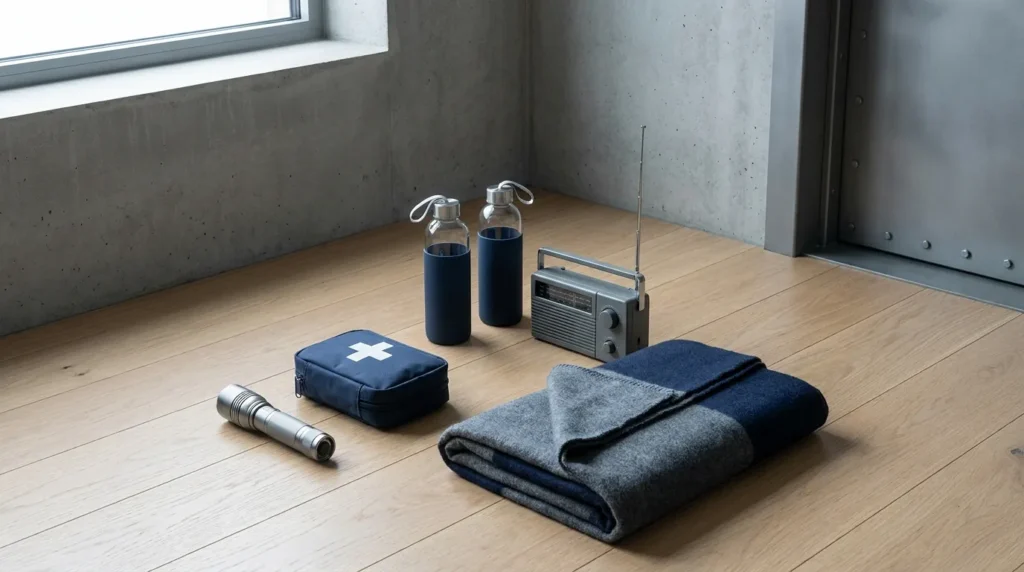
- A battery-powered flashlight and extra batteries (avoid candles — they are a fire risk in a small space)
- A basic first-aid kit
- A few bottles of water and shelf-stable snacks
- A portable phone charger
- A whistle, in case someone outside needs to hear you
The Insurance Institute for Business & Home Safety has published research showing that reinforced interior rooms, even modest ones, significantly reduce injury risk during severe weather events compared to having no plan at all. That single fact is the reason I stopped overthinking the “perfect” build and just started with what I had.
Adding Smart Monitoring on a Budget
You do not need a full security system to make your safe room smarter. Many families now pair their reinforced room with a basic camera setup so they can see what is happening in the rest of the house before they even open the door. If this interests you, our breakdown of securing your home Wi-Fi and smart cameras explains how to set this up affordably, and it pairs well with the checklist in our nighttime home security routine.
Between the door upgrade, the lock, the plywood reinforcement, and a basic supply kit, most families can put together a genuinely useful safe room for a few hundred dollars, spread out over a couple of paychecks. That is a very different number than the $10,000+ figure most articles throw at you.
Safe Room vs. Panic Room: Why the Difference Matters for Your Budget
A lot of people mix these two terms up, and it changes how much you end up spending. A panic room is usually built for intruder defense specifically. It often includes steel-reinforced walls, a dedicated ventilation system, and sometimes a separate communication line. That level of build can easily run into five figures.
A safe room, on the other hand, is a broader term. It can be built for storms, break-ins, or both, and it scales to whatever your household actually needs. A reinforced closet with a strong door and a lock can absolutely count as a safe room, even if it would never be called a panic room.
Knowing this difference early saves you from overspending on features you may never use. If your biggest worry is severe weather, you do not need bullet-resistant panels. If your biggest worry is a break-in while you sleep, your money is better spent on the door and lock than on soundproofing.
Do You Need a Permit?
This is one of the most common questions I get asked, and the honest answer is: it depends on how far you take it. Reinforcing an existing closet with plywood, a new door, and a better lock is usually considered a minor interior modification and does not typically require a permit in most areas. Adding structural changes, like cutting into load-bearing walls or installing a below-ground shelter, usually does.
My own realization here came the hard way. I almost drilled straight into a load-bearing wall to widen our closet before checking. A quick call to a local contractor (free, just to ask) saved me from a mistake that would have cost far more than the safe room itself. If you are ever unsure, a five-minute phone call is always cheaper than a repair bill.
Planning for Everyone in the House
One detail people forget is that a safe room has to work for the whole family, not just the adults. If you have small children, older relatives, or pets living with you, plan your space and supplies around all of them.
- Keep a small comfort item for kids, like a stuffed animal, so the space feels less scary
- Store any daily medications your family needs inside a small, clearly labeled container
- If you have pets, keep a leash or carrier nearby so you are not searching for one in a rush
A safe room that only works for one person in the house is not really finished yet. Building it with everyone in mind from the start means you will not need to redo it later.
A Conversation I Had With My Neighbor About “Finishing” Her Safe Room
A few months after I set mine up, my neighbor asked me a question that stuck with me. She said, “Okay, I built the closet thing. Now what? Am I done?”
Honestly, that is the exact question most people forget to ask. Building the room is step one. Keeping it useful is a completely different job, and it is the part almost every guide skips.
Here is roughly how that conversation went, because I think it answers a lot of what you are probably wondering too.
Her: “I put a flashlight and some water in there. Isn’t that enough?”
Me: “For now, sure. But have you checked if that flashlight still works since you bought it?”
Her: “…No.”
That is normal. Nobody thinks about checking a flashlight until they need it and it does not turn on.
Turning “Set It Up Once” Into “Actually Works When Needed”
The families who get the most out of their safe room are not the ones with the fanciest gear. They are the ones who treat it like a small recurring task, similar to swapping smoke detector batteries.
Here is a simple system that works without becoming a chore:
- Pick one date you already remember, like a birthday or the day the clocks change, and use it as your “check day”
- On that day, test the flashlight, check water expiration dates, and open and close the door to make sure nothing sticks
- Ask one other person in the house to do the same check with you, so it is never only your responsibility
My honest slip-up here: I went almost a full year without checking ours. When I finally did, two of the batteries had leaked inside the flashlight. That is not a dramatic story, but it is exactly the kind of quiet failure that turns a “safe room” into an empty closet with a nicer door.
What the Experts Say About Staying Storm-Ready
You do not need to build this system from scratch on your own. According to preparedness guidance from the American Red Cross, households that review their emergency supplies at least twice a year are far more likely to have working equipment when severe weather actually hits, compared to households that set up a kit once and never revisit it.
That single piece of advice is the reason I now treat my safe room the same way I treat my car’s oil change. It goes on the calendar, not just on my to-do list.
A quick comfort upgrade worth adding here: a lightweight battery-powered lantern instead of a hand flashlight. It sits upright, lights the whole space, and frees up your hands, which matters a lot if you are also holding a child or a pet.
Layering In a Little Bit of Technology, Without Overspending
You do not need a full smart-home setup to make your safe room smarter. A few small, affordable additions can give you information before you even reach the room.
A basic motion-sensor light near the entrance means you are never fumbling for a switch while half-asleep. A cheap door sensor, the kind that chimes when opened, can alert you if someone else in the house has already headed there before you. Even a simple baby monitor, repurposed, can let you hear what is happening in another part of the house while you wait inside.
Here’s a scenario worth picturing: it is 3 a.m., a storm siren goes off, and you are moving through a dark hallway. A motion light by the safe room door means you are not searching the wall for a switch while carrying a sleepy kid. That one detail sounds minor until you are actually living it.
None of this needs to be expensive or complicated. The goal is simply to remove friction between “something is happening” and “everyone is safely inside the room.”
The Mistakes That Quietly Undo All Your Hard Work
Here is a “Do This, Not That” list based on real slip-ups I have either made myself or watched friends make. None of these mean your safe room is a failure. They just mean it is not finished yet.
Do check your door regularly. Don’t assume it will “just work” one day. Hinges loosen, wood swells in humidity, and locks stick over time. A door that closed perfectly the day you installed it might jam six months later. Test it, do not trust it blindly. A thirty-second push-and-pull check every few months is enough to catch most problems early, long before they turn into an emergency-day surprise.
Do keep supplies inside the room. Don’t leave them “close enough.” A first-aid kit in the hallway closet next door is not the same as one inside the actual room. In an emergency, every extra step you take outside the safe space is a risk you did not need to take.
Do involve your whole household. Don’t assume everyone remembers the plan. I learned this one the hard way. My family, mid-drill, went in totally different directions, because we had only talked about the plan once, months earlier. Now we walk through it out loud every few months, out of habit, not fear.
Do treat it as an evolving space. Don’t treat it as a finished project. Kids grow, needs change, and gear gets outdated. A safe room built for a toddler needs different supplies a few years later. Revisit it the way you would revisit a first-aid kit, not the way you would revisit a coat of paint.
Do keep the path clear. Don’t let it quietly become a storage dump. This one sneaks up on people. A safe room is an easy place to stash seasonal boxes “just for now.” Before long, the door is half blocked and the shelf with your supplies is buried under decorations. If it does not belong to the plan, it does not belong in the room.
Skipping any single one of these will not undo everything you have built. But letting several slide at once is how a genuinely good plan quietly turns into false confidence. The goal is not perfection. It is simply catching these small slips before they turn into the one thing that matters most on the day you actually need this room.
Real Questions People Ask Before Starting This Project
How much does it actually cost to build a safe room?
A fully custom, contractor-built safe room can run from $5,000 to $15,000 or more. A reinforced closet with a solid door, a strong lock, and basic supplies can often be finished for a few hundred dollars, spread across a couple of paydays.
Is a closet really strong enough to count as a safe room?
Yes, as long as it is reinforced properly. An interior closet with plywood-backed walls, a solid-core door, and no exterior windows can genuinely function as a safe room, even without a full construction project.
What is the real difference between a safe room and a panic room?
A panic room usually focuses specifically on intruder defense, with heavier security features and a bigger price tag. A safe room is a broader idea that can cover storms, break-ins, or both, and it flexes to match your actual budget and risk.
Will I need a permit for this kind of project?
Usually not, if you are only reinforcing an existing space with a stronger door, better locks, and plywood backing. Permits generally come into play only with structural work, like cutting into load-bearing walls.
Where I’d Start If I Were You
If you take nothing else from this, take this: pick your room this week. Not next month, not “someday.” This week.
You do not need every item on a checklist before it counts as progress. A closet with a stronger door and one bottle of water is already further ahead than a plan that only exists in your head.
I did not build ours perfectly the first time, and honestly, I still tweak it every few months. That is normal, and it is exactly how this kind of project is supposed to work.
My honest hope is that you close this article, walk to that closet or storage room right now, and take just one small step toward getting it ready. That single step is worth more than any amount of planning you do without acting on it.
Disclaimer: This article is intended for general informational purposes only and does not constitute professional construction, structural engineering, or emergency preparedness advice. Building codes, permit requirements, and safe room standards vary by location. Please consult a licensed contractor or your local building authority before making structural changes to your home.